Planning to hike Acatenango in Guatemala? This guide covers everything you need to know before you go, from choosing the best tour company and what to pack to how difficult the hike really is and whether the optional Fuego hike is worth it.
Have you ever imagined standing beside an erupting volcano? Before researching Guatemala, I had no idea this experience even existed. My first thought was, “Is this actually safe?” While hiking an active volcano always comes with some risk, the safety measures in place gave me enough confidence to add it to my itinerary.
There are incredible hikes all over the world, but very few let you spend the night watching lava explode into the sky before waking above the clouds for sunrise.
The Acatenango hike is challenging, but it was also one of the most unforgettable travel experiences I’ve ever had – and one that was worth every single step.
This is a pretty detailed guide, but for good reason – I’ve included everything I wish I knew before hiking Acatenango. If you’re looking for something specific, you’ll find a quick navigation section below so you can jump straight to what you need.
Quick Facts
📍 Location: Antigua, Guatemala
⛰️ Summit elevation: 3,976 m
🥾 Distance: Approximately 14 km return (depending on your route)
⏰ Duration: 2 days, 1 night
⭐ Difficulty: Hard
💰 Average cost: $100 USD
🚐 Departure point: Antigua Guatemala
Acatenango Hike Guide: Quick Navigation
Planning your Acatenango adventure? Jump straight to the section you need:
🌋 Is the Acatenango Hike Worth It?
Find out whether this challenging Guatemala hike lives up to the hype.
🥾 Choosing an Acatenango Tour Company
Everything you need to know about tour operators, cabins, and the option I chose.
🎒 What’s Included & What to Pack
A complete breakdown of what’s provided, what you’ll need, and my essential packing tips.
⛰️ How Difficult Is the Acatenango Hike?
An honest look at the fitness requirements, altitude, steep climbs and what to expect.
🚶 What the Hike Is Actually Like
A day-by-day breakdown of the trail, base camp, Volcán de Fuego hike, sunrise summit and descent.
💡 Tips I Wish I Knew Before Hiking Acatenango
The practical advice that will make your experience easier and more enjoyable.
❓ Acatenango Hike FAQ
Answers to the most common questions about safety, beginners, lava, toilets, water and more.
🌅 Final Thoughts
My honest review of whether this once-in-a-lifetime experience is worth it.
Keep connected in Guatemala with Airalo
Is the Acatenango Hike Worth It?
Let’s start with the question everyone asks: Is the Acatenango hike worth it?
Before setting off, you’ll probably hear people describe it as the hardest hike they’ve ever done. For some, that may be true. But every hiker has a different fitness level, and while it’s certainly demanding, it’s important to remember what you’re climbing for.
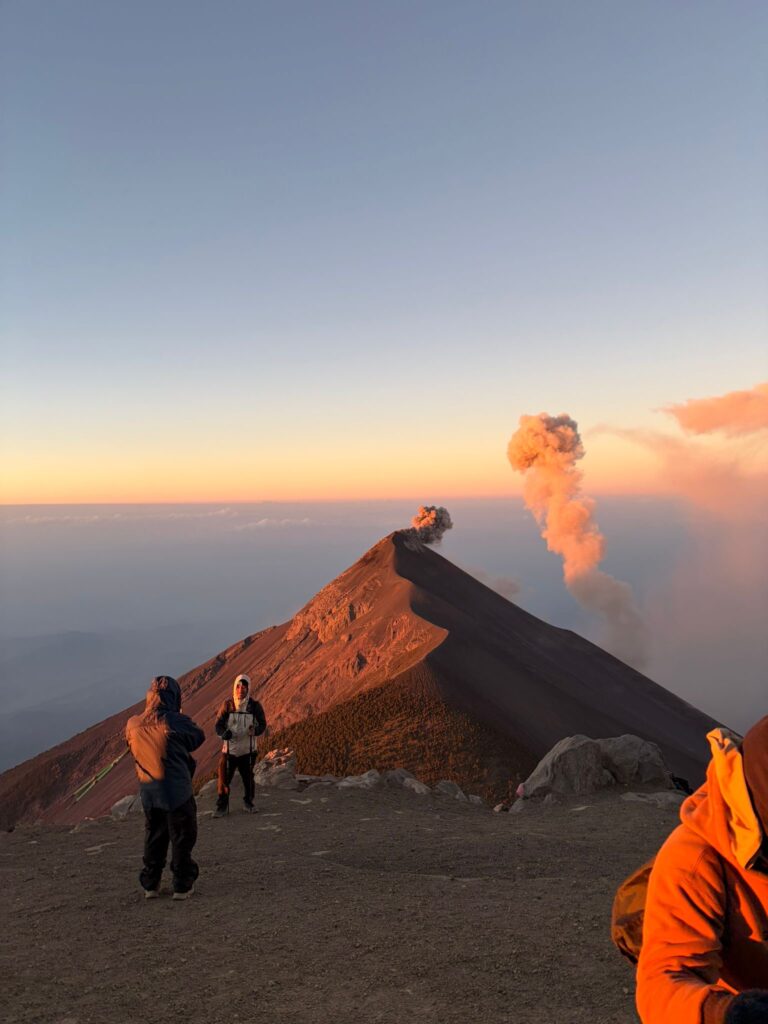
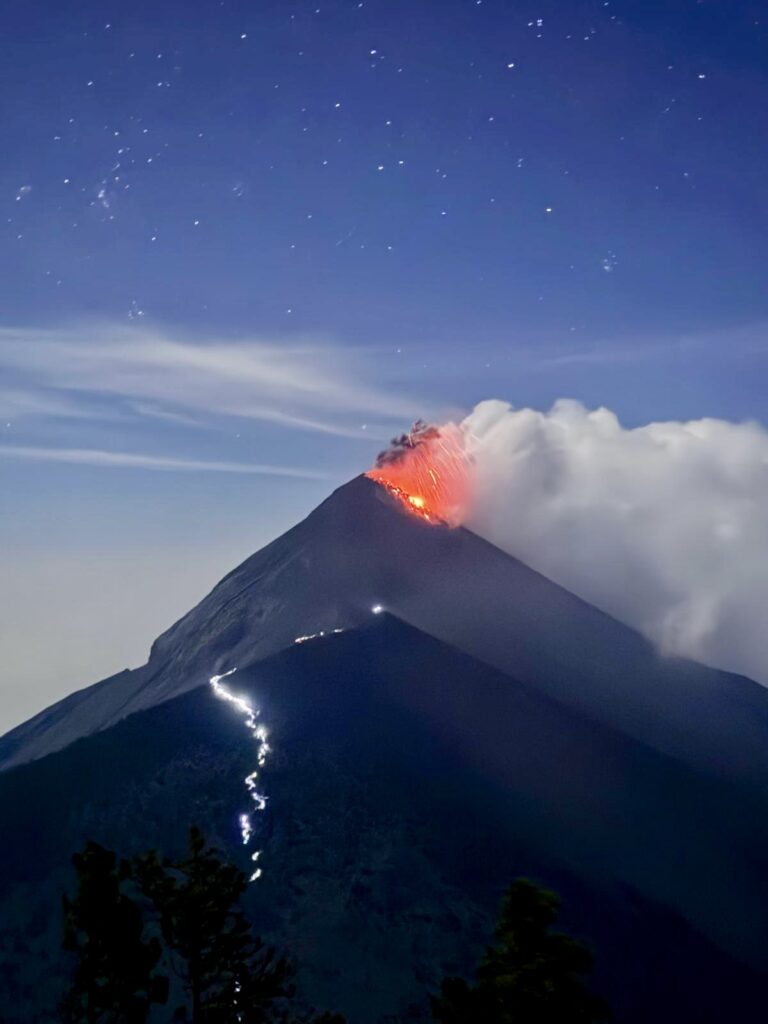
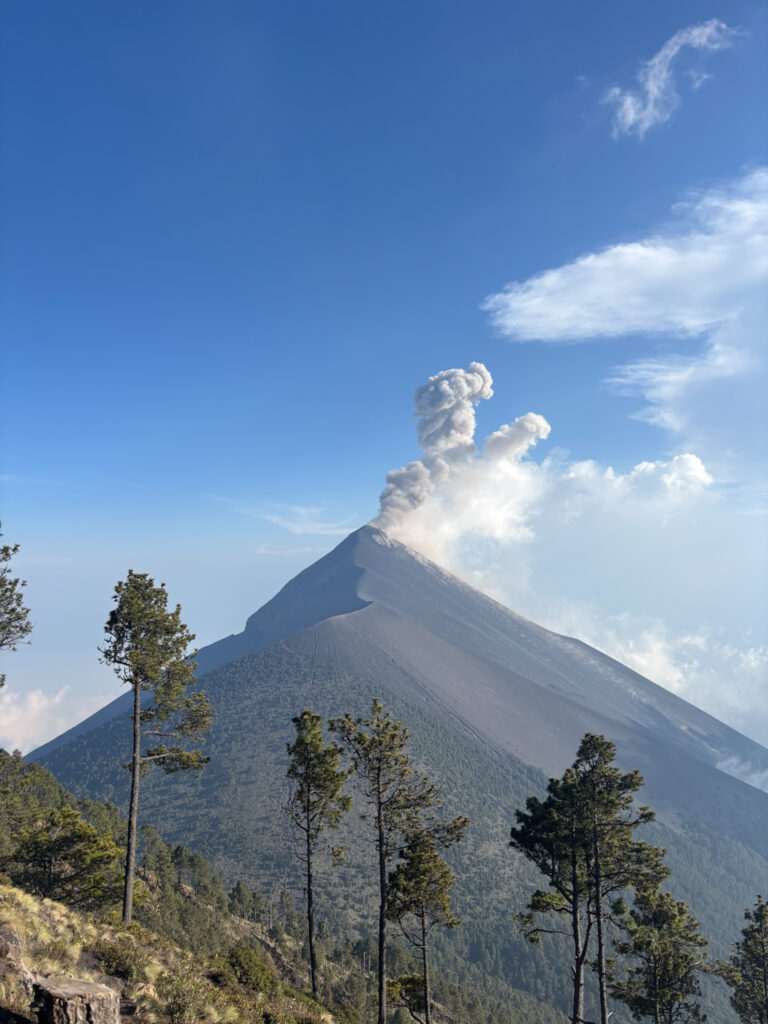
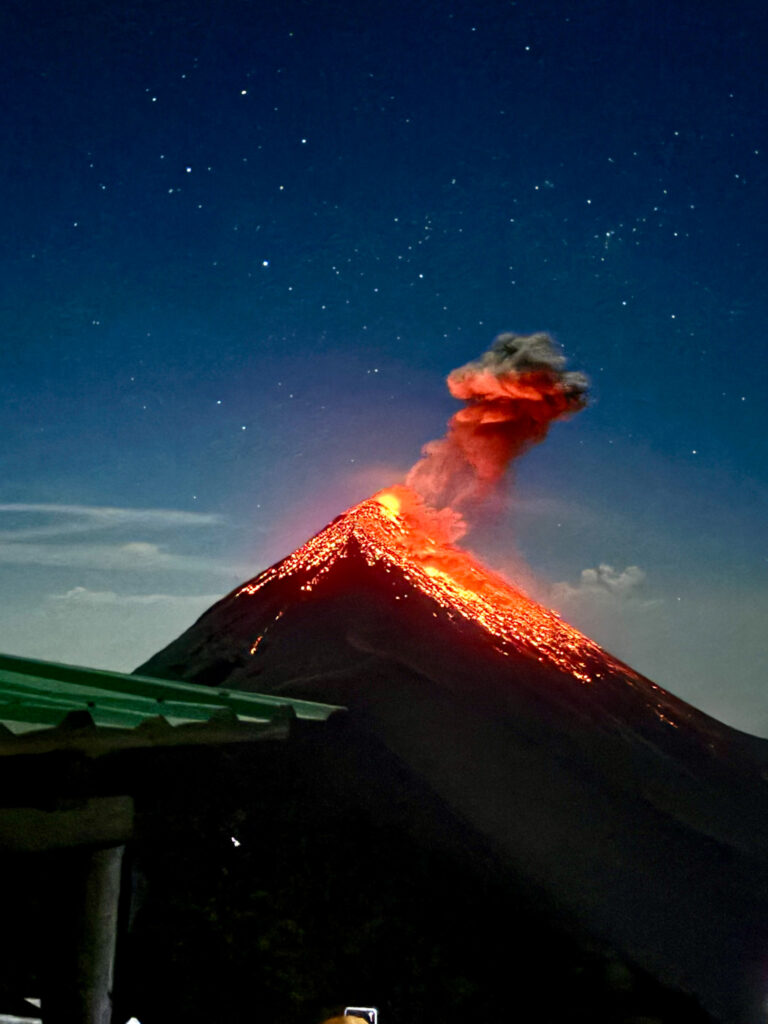
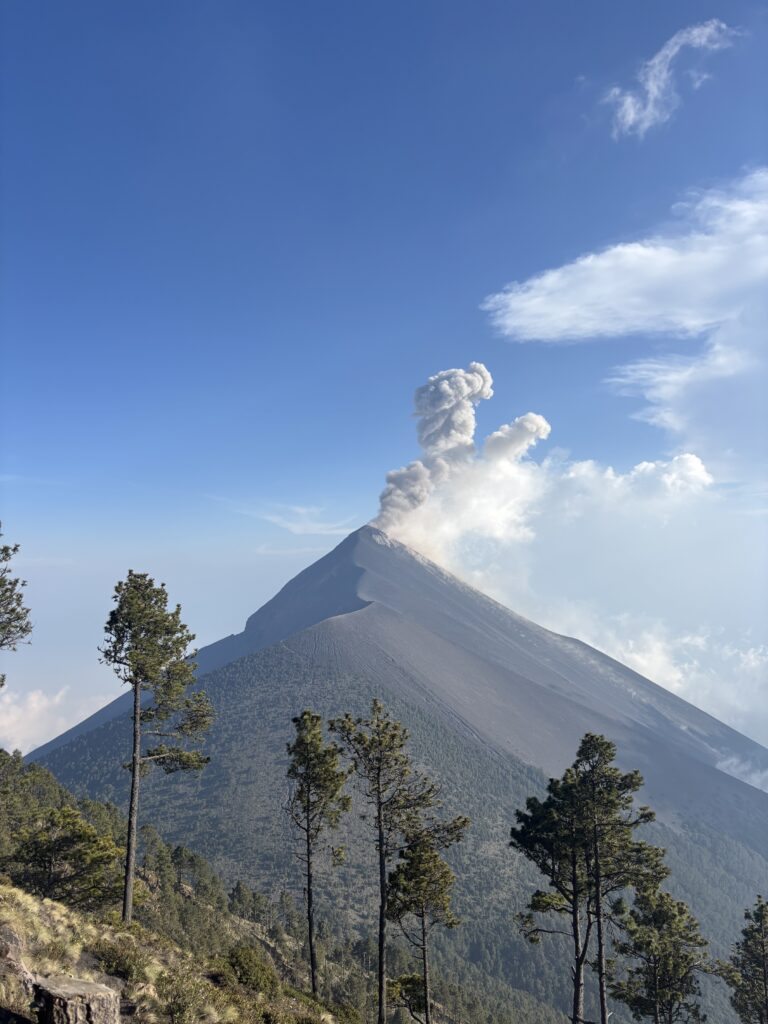
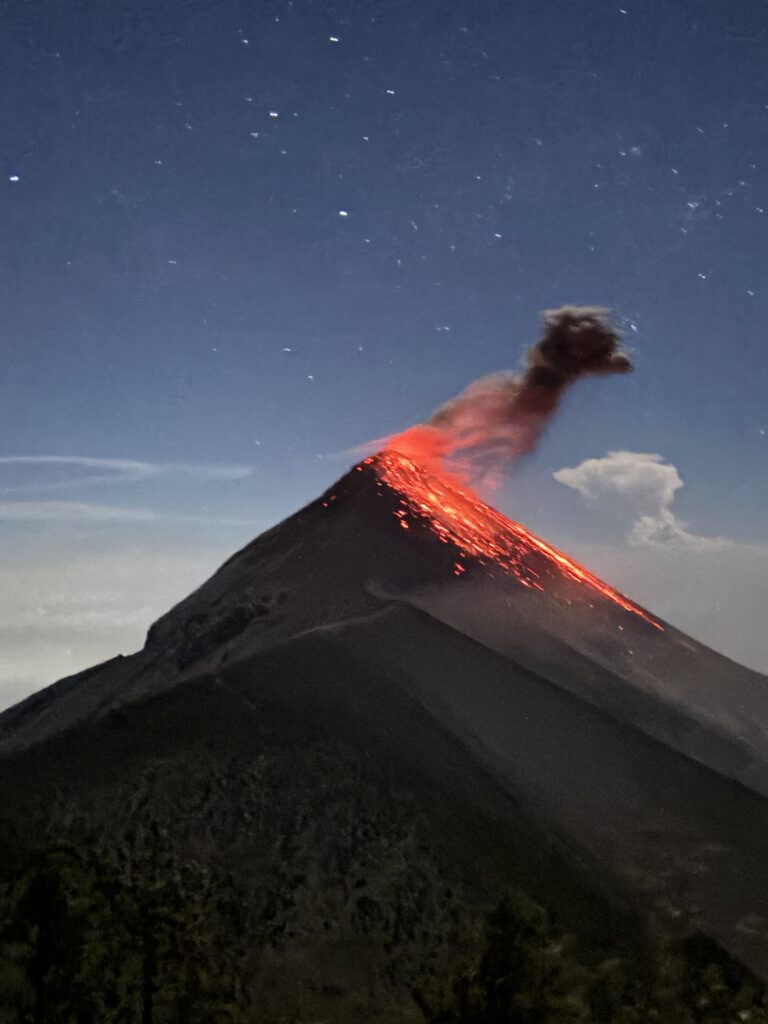
Watching Volcán de Fuego erupt right in front of you is an experience that very few people will ever have. Throughout the day you’ll see enormous ash clouds rising into the sky, and once darkness falls, glowing lava explodes from the crater, lighting up the mountainside. Every eruption is different, making it impossible to look away.
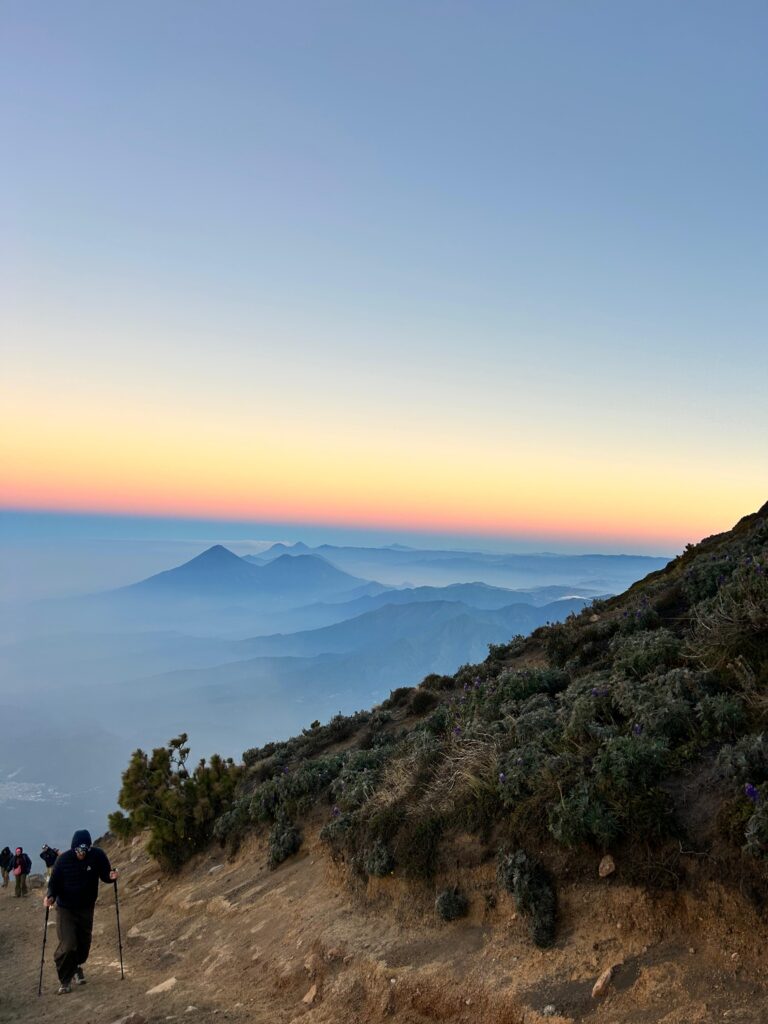
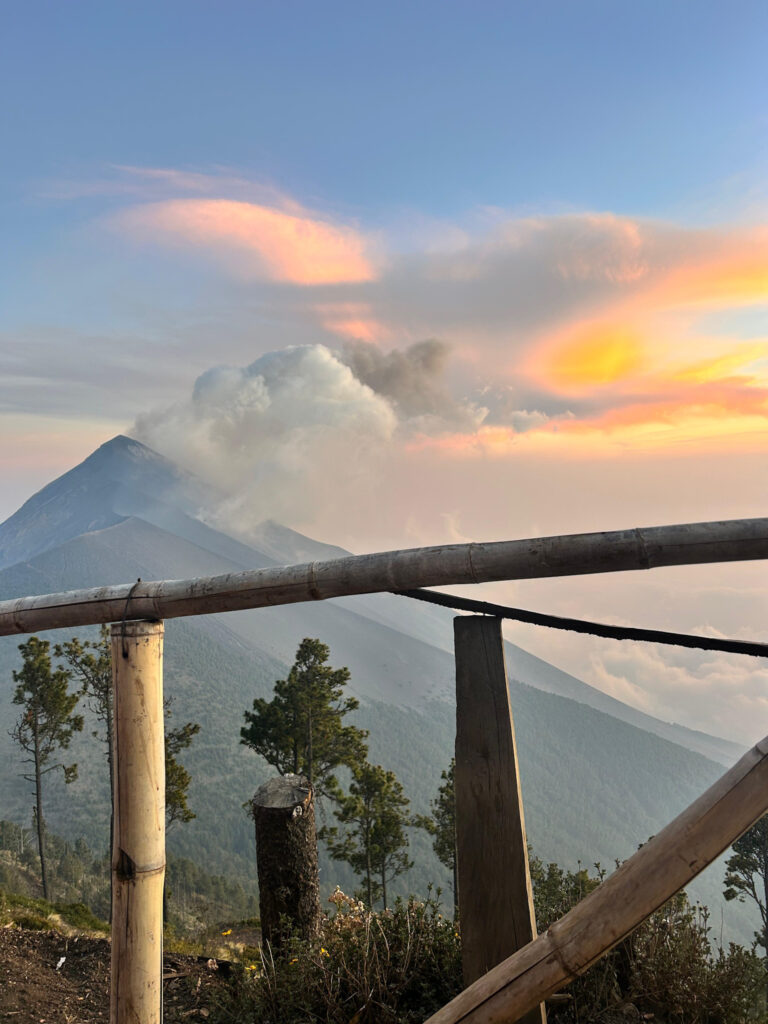
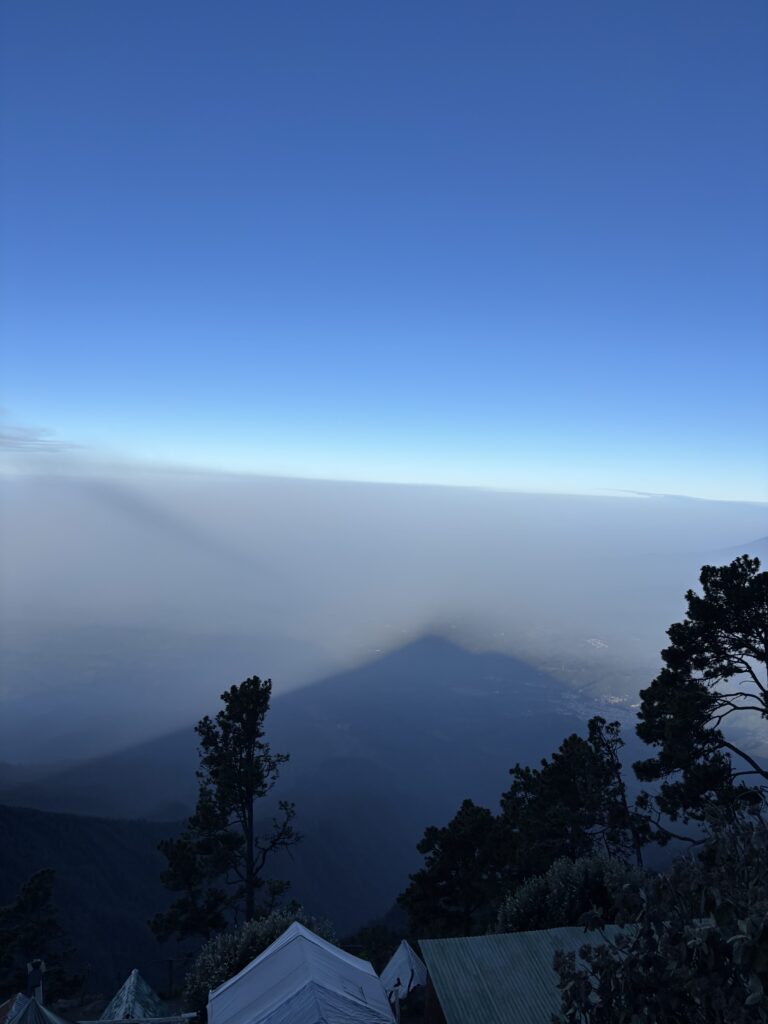
Then there’s the scenery. The sunset over the volcanic landscape is spectacular, and waking before dawn to watch the sunrise above a blanket of clouds is equally unforgettable. Whether you’re viewing it from base camp, hiking Volcán de Fuego, or standing on the summit of Acatenango, every viewpoint feels surreal.
Out of all the places I’ve travelled, this remains one of my favourite experiences – not just in Guatemala, but anywhere in the world. Yes, it’s physically demanding. Yes, you’ll probably question your life choices on the way up. But reaching the top and witnessing one of nature’s most incredible displays makes every difficult step worthwhile.
For me, the answer is simple: it’s worth it a thousand times over.
Which Tour Company Should You Choose?
The vast majority of people hike Acatenango with a guided tour, and for good reason. While it is technically possible to hike independently, it isn’t recommended unless you’re a very experienced hiker with the right equipment and knowledge. You’ll need to carry all of your own camping gear, food, and water, as well as navigate changing weather conditions at high altitude.
I chose Tropicana Hostel, one of the most popular operators in Antigua. Because they’re so well known, they also have some of the largest hiking groups. To avoid this, I upgraded to their Flashpacker Cabin for an extra US$10, and it was one of the best decisions I made.
Instead of sharing a cabin with around 30 people, there were only eight of us. The cabin also featured floor-to-ceiling windows overlooking Volcán de Fuego, meaning we could stay warm inside while watching the eruptions throughout the evening. Flashpacker and VIP hikers also leave earlier than the main group, so our hiking group consisted of just 15 people, making the experience feel much more personal.
If you’re happy to spend a little extra, I’d highly recommend this upgrade.
Other highly recommended tour companies
- Wicho & Charlie’s
- OX Expeditions
Lava Trails
Wondering where to stay in Antigua? Browse accommodation options here
What’s Included?
I booked the Flashpacker Cabin with Tropicana for US$100, which I thought offered excellent value considering everything that was included. Here’s exactly what you can expect.
Meals
- Breakfast at the hostel before the hike
- Packed lunch (wrap, muffin and apple)
- Instant noodles on arrival at base camp
- Dinner (our group had chicken, mixed vegetables and potatoes)
- Marshmallows and hot chocolate around the campfire
- Breakfast on Acatenango (oats and banana bread)
4 litres of drinking water
Other Inclusions
- Experienced hiking guides
- Cabin accommodation
- Sleeping bag and sleeping mat
- Return transport from Antigua
- Three items of warm clothing (typically a jacket, gloves and beanie)
- Free luggage storage at the hostel
- Free shower and towel after the hike
- Acatenango National Park entrance fee
What’s Not Included
Hiking poles (Q40) – available to hire at the start of the hike. I can’t recommend these enough! They make both the climb up and the descent much easier on your knees.
Porter (Q250 one way) – this must be booked before leaving the hostel. If you decide halfway up that you want one, you’ll usually pay more. I hired a porter for the climb up and carried my own backpack back down, which was the perfect balance for me.
Fuego hike (Q200) – an optional sunset hike to Volcán de Fuego. (I’ll cover whether it’s worth the extra cost later in this guide.)
What Should You Pack for the Acatenango Hike?
Even though your tour includes most of the essential camping gear, there are still a few things you’ll need to bring yourself. Packing properly can make a huge difference to your experience, especially once the temperature drops after sunset.
This was one of the biggest things I researched before my hike, so here’s exactly what I packed and what I’d recommend.
Clothing
- Base layers (thermal top and leggings)
- Warm fleece or jumper
- Puffer jacket
- Waterproof jacket
- Hiking pants
- Gloves
- Beanie
- Thick hiking socks
A second pair of warm, dry socks for sleeping
If your tour includes warm clothing, you won’t need to pack everything yourself. Tropicana provided my beanie, gloves and fleece, so I simply borrowed those and packed the rest.
For the hike up, I wore:
- Hat & sunnies
- Sports bra
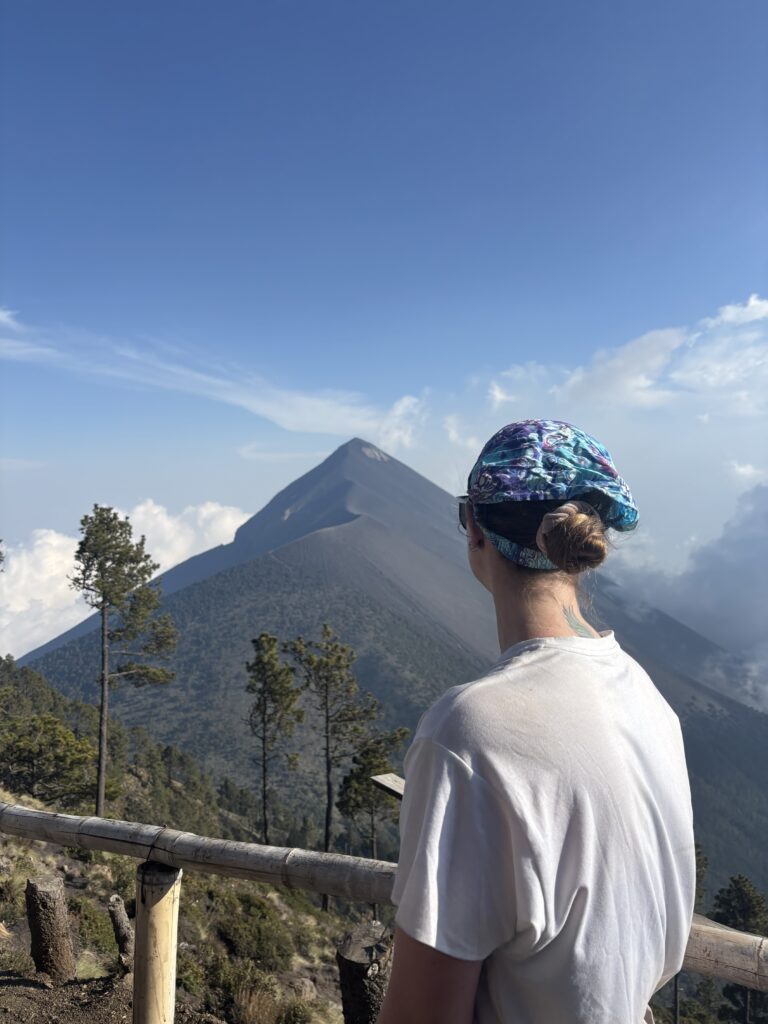
- T-shirt (avoid wearing white – you’ll get incredibly dusty!)
- Bike shorts
- Hiking socks
Hiking boots
I kept all of my warm layers in my backpack and didn’t put them on until reaching base camp.
Before hiking Volcán de Fuego, I changed into thermal leggings under my hiking pants, added a thermal top and rain jacket, and once we reached the summit, I swapped to my puffer jacket, added my fleece underneath, and put on my gloves and beanie. That’s almost exactly what I slept in too – just with a fresh pair of socks.
Don’t underestimate how cold it gets. Even if you’re sweating during the climb, temperatures at camp can drop to around 0–5°C, and the wind makes it feel even colder.
Food & Snacks
Although plenty of meals are provided, you’ll probably want extra snacks to keep your energy levels up.
I’d recommend bringing:
- Electrolyte sachets or sports drinks (one for the climb up and another for the descent)
- Chocolate
- Lollies
- Protein bars
- Mixed nuts or trail mix
Essentials
- Headtorch (or hire one at the start of the hike)
- Power bank
- Sunscreen
- Toilet paper
- Camera or phone
- Cash (for snack stalls and drinks along the trail)
- Wet wipes (you’ll be amazed how good a quick wipe-down feels after such a dusty hike!)
Altitude medication (if you choose to use it)
My Top Packing Tip
If there’s one thing I’d tell every hiker, it’s don’t overpack.
You’ll be carrying everything on your back for around seven kilometres uphill, so every extra kilogram makes a difference. Stick to the essentials, wear your heaviest layers when needed, and consider hiring a porter if you’re worried about carrying your backpack.
I’d also recommend hiring hiking poles – they were easily one of the best investments I made and made the steep descent much more comfortable.
Find some of my Acatenango Hiking Essentials with Amazon
Power Bank | Headlamp | Hiking poles
How Difficult Is the Acatenango Hike?
The short answer? It’s hard – but it’s absolutely achievable.
Before hiking Acatenango, I’d done a fair amount of hiking, but nothing quite like this. My toughest multi-day hike had been the Kepler Track in New Zealand – a 60 km trek over three days, reaching a maximum elevation of 1,472 metres.
On paper, Acatenango looks much easier. It’s only around 14 km return over two days, but don’t let the shorter distance fool you. The summit sits at 3,976 metres, meaning you’re climbing to more than twice the altitude of the Kepler Track, and the trail is significantly steeper.
Once you begin the hike, you’re climbing almost the entire way. Aside from the final 15 minutes before reaching base camp, where the trail briefly levels out, it’s a continuous uphill grind.
This isn’t the kind of hike where you settle into a comfortable rhythm – you’ll constantly be working against the incline.
My Experience
This was my first time hiking at high altitude, so I decided to take altitude medication as a precaution. Thankfully, I never experienced altitude sickness. Whether that was because of the medication or simply because my body adjusted well, I can’t say – but I’d rather have been prepared than risk feeling unwell halfway up the mountain.
One side effect I did notice from the medication was tingling in my hands and feet. It felt strange at first, but it came and went throughout the hike and wasn’t anything too concerning.
The biggest challenge for me was feeling short of breath.
At nearly 4,000 metres above sea level, the air is noticeably thinner. I already carry an inhaler, which helped ease the tightness in my chest, but there were definitely moments where I felt like I couldn’t quite catch a full breath. It wasn’t dangerous, just something I had to slow down and manage.
Do You Need Hiking Experience?
Not at all.
There were plenty of people in my group completing Acatenango as their very first hike.
What matters most isn’t having years of hiking experience – it’s knowing what you’re signing up for and being prepared. You can take as many breaks as you need, and the guides stop regularly to let everyone catch their breath and stay together.
Our climb to base camp took around 5 hours and 15 minutes, including plenty of rest stops.
More than anything, Acatenango is a mental challenge. There are moments when it feels like the uphill never ends, but if you simply keep putting one foot in front of the other, you’ll get there eventually.
And once you see Volcán de Fuego erupting in front of you, every step suddenly feels worth it.
Altitude: What You Need to Know
One of the biggest challenges of the Acatenango hike isn’t just the steep trail – it’s the altitude.
Antigua sits at around 1,500 metres above sea level, while the summit of Acatenango reaches 3,976 metres. Gaining that much elevation in such a short period can affect everyone differently.
To give your body the best chance to adjust, I’d recommend spending at least two nights in Antigua before your hike. This gives you some time to acclimatise rather than heading straight from sea level to almost 4,000 metres.
While hiking, a few simple habits can make a big difference:
- Drink water consistently throughout the climb.
- Bring electrolytes to replace the salts you’re losing through sweat.
- Take regular breaks rather than pushing yourself too hard.
- Hike at your own pace – there’s no prize for getting to camp first.
- If you’re concerned about altitude sickness, consider taking altitude medication. These are widely available at pharmacies in Antigua, but remember to start taking them the day before your hike, as directed.
Everyone reacts to altitude differently. Some people experience headaches or nausea, while others hardly notice it at all. Listen to your body, don’t be afraid to slow down, and let your guide know if you’re feeling unwell.
What Is the Acatenango Hike Actually Like?
If you’re anything like me, you’ll probably spend hours trying to work out exactly what to expect before booking the hike. So here’s a realistic breakdown of how my two days on Acatenango unfolded.
The Drive to the Trailhead
Our group was the first to leave that morning.
After breakfast at 7:00 am, we collected our packed lunches, water, rental gear and any extra clothing before loading everything onto the shuttle.
Once we arrived at the trailhead, there was time to hire hiking poles and headtorches, organise porters if you’d booked one, and listen to a safety briefing from our guides.
Then it was finally time to start climbing.
The Climb Begins
We started hiking at around 9:40 am, and from the very first section, the trail lived up to its reputation.
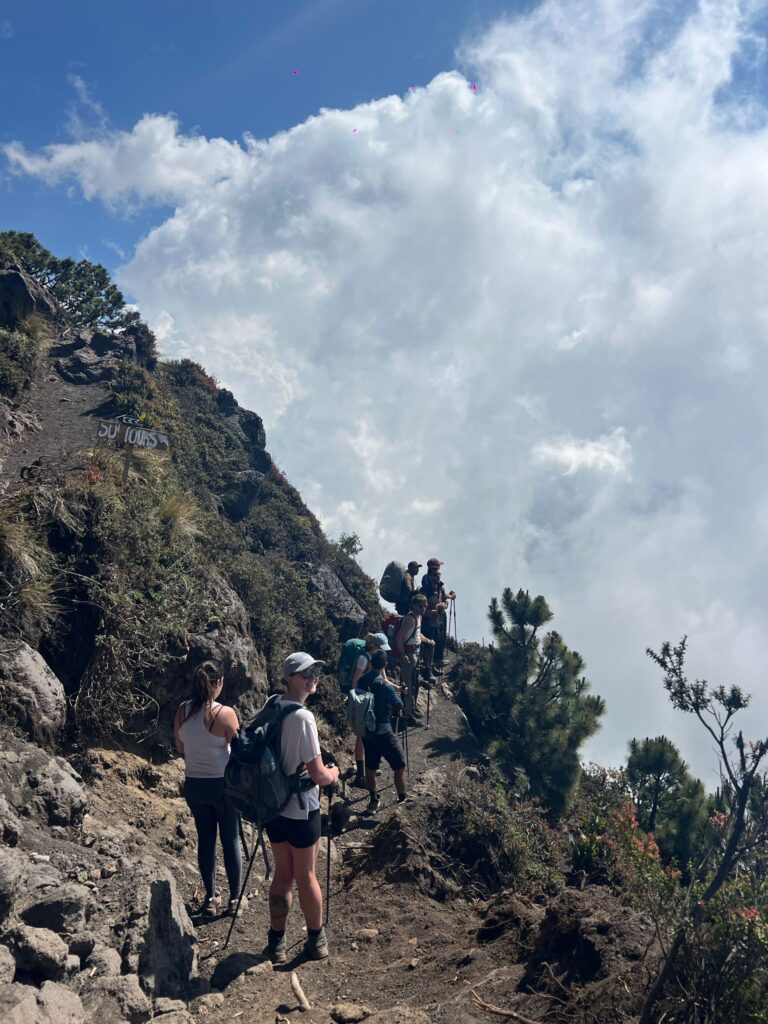
The path is steep, dusty and relentless. There are no long flat sections to recover – just a steady climb through farmland before entering the forest. Thankfully, the guides stop regularly to give everyone a chance to catch their breath – our group stopped roughly every 15 minutes – which may seem excessive but was actually the perfect balance!
Our day looked something like this:
9:53 AM — first break
10:16 AM — break after dusty gravel incline
10:24 AM — difficult incline, very puffed/tight chest
10:43–10:53 AM — longer rest
11:12 AM — switchbacks section, tiring but manageable
11:45 AM–12:00 PM — lunch/rest stop
12:22 PM — another tough stretch
~1:25 PM and ~2:00 PM — additional breaks
Reached base camp: 2:53 PM
Although there were plenty of breaks, don’t underestimate the climb. The combination of steep gradients and high altitude means it’s physically demanding from start to finish. There were definitely moments where I questioned why I’d signed up – but every rest stop brought us closer to one of the best views I’ve ever seen.
Reaching Base Camp
As if the hike hadn’t already been rewarding enough, we were welcomed to base camp by one of Volcán de Fuego’s signature eruptions.
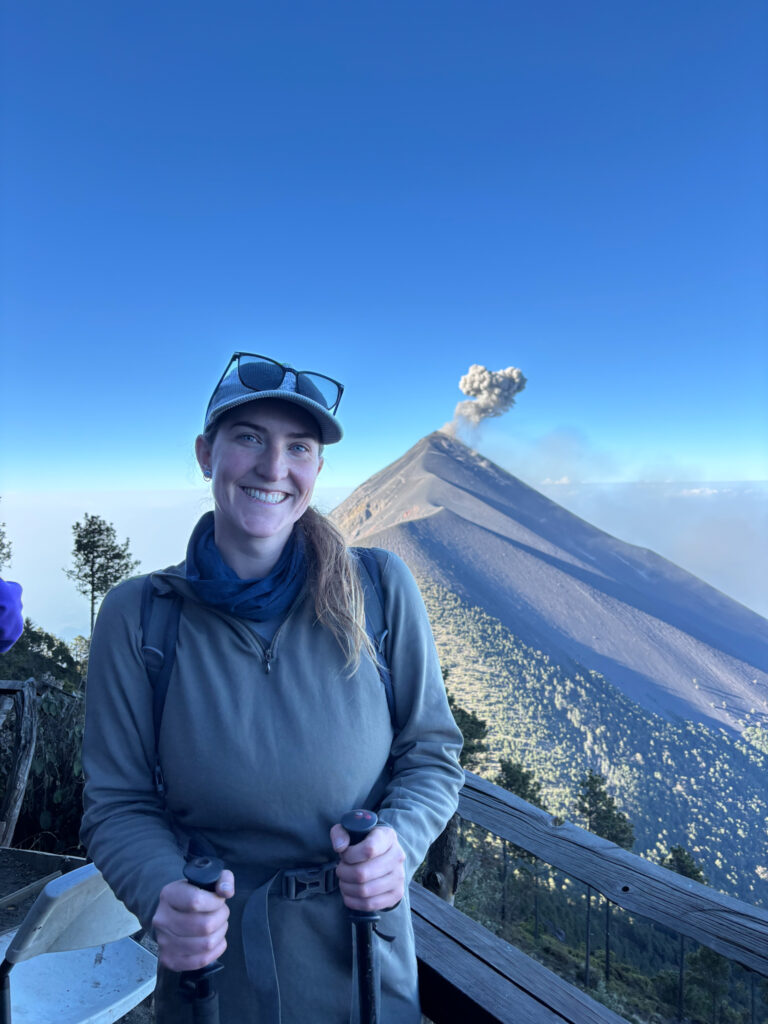
Watching ash and lava burst into the sky from only a few kilometres away is difficult to put into words. We’d watched Fuego from Antigua the day before, but standing this close made it feel like a completely different experience.
For the next couple of hours we relaxed with hot noodles, took in the incredible scenery and watched Fuego erupt roughly every 10-15 minutes. Honestly, I could have sat there for hours.
Is the Optional Fuego Hike Worth It?
This is probably the second biggest question people ask after “Is Acatenango worth it?”
My advice is simple: don’t decide until you reach base camp.
By then you’ll know how your body is feeling and whether you still have enough energy for the extra climb.
I decided to go for it, and although it was by far the hardest part of the entire trip, I don’t regret it for a second.
Standing on the ridge opposite one of the world’s most active volcanoes was surreal. Unfortunately, clouds rolled in just after we arrived, so we only witnessed one eruption before visibility disappeared. Ironically, the skies cleared again shortly after we started walking back down – but that’s mountain weather for you.
The real challenge wasn’t hiking to Fuego.
It was hiking back.
After spending the entire day climbing, we still had to descend from Fuego before making the final uphill push back to Acatenango base camp in the dark. What had felt manageable earlier in the day suddenly felt twice as difficult.
By that point, you’re exhausted, hungry and simply ready to stop walking. It became a real mental battle, but one slow step at a time eventually got us back to camp.
Would I do it again?
Absolutely.
A Night Beside an Active Volcano
We returned to camp at around 9:50 pm, exhausted but incredibly happy.
One of the best parts about upgrading to the Flashpacker Cabin was being able to watch Fuego erupt through the floor-to-ceiling windows while staying warm inside. Every eruption lit up the night sky, making it surprisingly difficult to fall asleep because I didn’t want to stop watching.
Eventually, exhaustion won, and I crawled into my sleeping bag just after 10:30 pm.
Sunrise on Acatenango
Wake-up calls begin between 3:00 and 4:00 am for anyone attempting the final summit to watch sunrise.
Personally, I decided not to continue to the summit.
After hiking Fuego the previous evening, I felt completely satisfied with the experience and chose to enjoy sunrise from base camp instead. I don’t regret the decision – I still watched a beautiful sunrise above the clouds – but seeing photos afterwards did make me wish I’d pushed through to complete the final climb.
Everyone I spoke to said exactly the same thing:
It was freezing cold, incredibly tough… and completely worth it.
If your legs still have something left to give, I’d recommend going for it. It’s not every day you get the chance to stand on top of a 3,976-metre volcano.
The Descent
After breakfast at around 6:15 am, everyone began making their way back down the mountain at 7.00am.
Compared to the climb up, the descent is much quicker, but don’t expect it to be easy. The trail is covered in loose volcanic gravel, making it slippery in places, and after two days of hiking your knees will definitely feel the impact.
This is where hiking poles become invaluable.
We reached the trailhead at around 11:00 am before catching the shuttle back to Antigua, arriving just after midday – tired, dusty, and already talking about what an incredible experience it had been.
Tips I Wish I Knew Before Hiking Acatenango
If I could give you just a few pieces of advice before your hike, it would be these:
- 🧥 Don’t underestimate the cold. Temperatures can drop to around 0–5°C overnight, so pack plenty of warm layers and keep a jacket easily accessible.
- 🥾 Rent hiking poles. If they’re not included with your tour, they’re well worth the small extra cost – especially for the steep descent.
- 🍫 Pack more snacks than you think you’ll need. The meals are great, but extra chocolate, lollies or protein bars are perfect for keeping your energy up.
- 🔋 Charge everything before you leave Antigua. There are no power outlets at base camp, so a portable charger is essential.
- 🎒 Pack light. You’ll carry everything uphill, so only bring what you truly need.
- 🧻 Bring wet wipes. You’ll get incredibly dusty, and they’ll be the closest thing to a shower until you’re back in Antigua.
Following these simple tips will make the hike far more enjoyable – and let you focus on the incredible experience rather than wishing you’d packed differently.
Acatenango Hike: Quick Fire Questions
Can beginners hike Acatenango?
Yes!
You don’t need to be an experienced mountaineer to complete Acatenango. Many people complete it as their first major hike. However, you should have a reasonable level of fitness and be prepared for a challenging climb.
Is Acatenango dangerous?
Generally, no – but there are risks.
The Acatenango hike itself is considered safe when completed with an experienced guide. However, Volcán de Fuego is an active volcano, meaning eruptions are unpredictable. This is why following your guide’s instructions and staying within designated areas is so important.
Can you hike Acatenango without a guide?
Technically, yes.
However, it is not recommended. Tour companies provide guides, equipment, safety information and local knowledge that make the experience much safer and easier.
Do you see lava every night?
There are no guarantees with nature, but the chances are very high.
Volcán de Fuego is one of the world’s most active volcanoes, and most hikers are lucky enough to see multiple eruptions throughout the evening.
Is there a toilet at Acatenango base camp?
Yes, but don’t expect luxury!
There are basic outdoor toilets/outhouses available at camp.
Can you leave bags in Antigua?
Yes.
Most tour operators allow you to leave your larger bags safely at their hostel or office while you complete the hike.
How much water do you need for Acatenango?
Your tour will usually provide water, but you should plan for around 4 litres per person.
Staying hydrated is one of the most important things you can do to help your body handle the altitude and physical effort.
Final Thoughts
The Acatenango hike was everything I imagined it would be – and so much more.
It was challenging. It tested me physically and mentally. There were moments where I questioned whether I could keep going. But every difficult step was rewarded with incredible views, unforgettable moments, and the feeling of achieving something truly special.
A lot of people finish Acatenango and say they would never do it again.
For me?
I’d actually love the opportunity to experience it all over again.
There is something incredibly special about standing beside an active volcano, watching lava explode into the night sky, and realising just how powerful nature really is.
My biggest takeaway from Acatenango is this:
You are capable of so much more than you think.
Sometimes the experiences that challenge us the most are the ones we remember forever.